I have another bike in the works, a titanium-framed hillclimber. If this sounds excessive, I agree. Five bikes is a bit much, but I really do enjoy the process of researching and selecting parts, then building up the bike. I enjoy artistic things as well, so the next logical step in my mind is to build and paint a lugged steel frame. This involves buying steel lugs and tubing, then welding (well, brazing, really) the frame together. I don't need any more bikes, so I offered to build a bike for a friend. She is currently going along with it. I will not "out" her in case she changes her mind, but hopefully she will see it through. To keep things inexpensive and classic, I'm using an 80s Italian groupset (Ofmega, Colnago, Campagnolo, and Ambrosio parts) I picked up off of Ebay. They should look nice with a lugged steel frame.
I've ordered a "Jiggernaut", though this first frame may have to be done without a jig. I'm going to be pretty straightforward with it, though I may wrestle with some problems when it comes to the frame geometry. The would-be rider is... not tall, which means the frame size will be in the 50cm-52cm range. The quill stem is non-adjustable and has a 125mm reach -- pretty long. The wheels that came with the groupset are 700c -- standard size for larger frames.
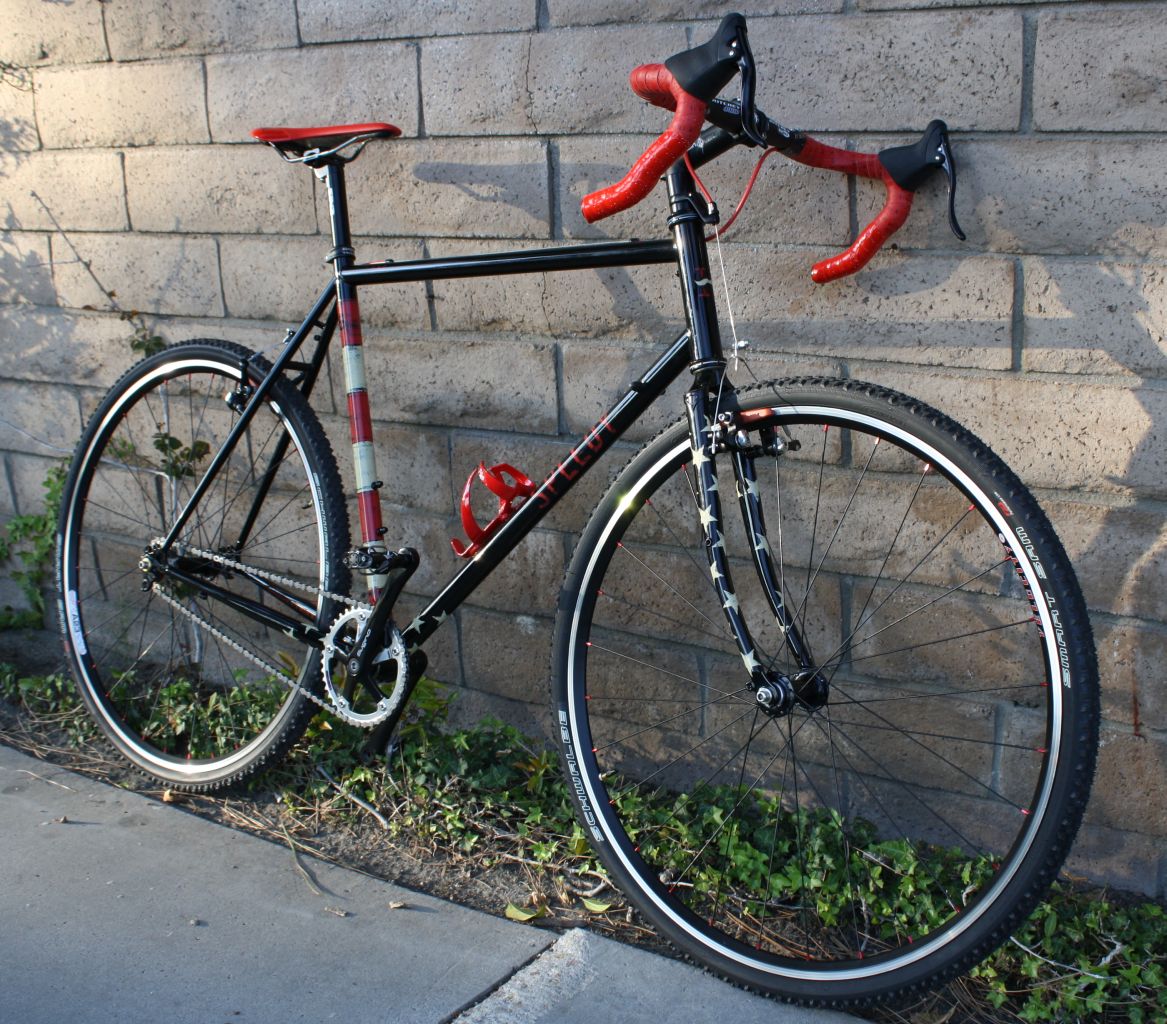
What does this all mean? Well, it all adds up to something called toe overlap. When a rider pedals, his or her feet travel in a circle that comes near the back of the front wheel. No big deal, typically. When the rider turns the handlebars, the front wheel moves in front of one of the feet/pedals, but the bicycle's frame geometry ensures that the feet remain clear of the wheel. If a bicycle frame gets smaller and the wheel size remains the same, the danger of toe overlap, i.e. the pedaling foot overlapping the wheel, increases. There are ways to solve this:
* Use 650c wheels. Smaller wheels = shorter radius from hub to tire = less risk of toe overlap. It requires 650c rims, which means I would have to buy those rims, new spokes and nipples, then lace and true them. It also means that the fork and rear triangle of the frame would have to be designed for 650c wheels; rim brakes have to be set up to reach the rim from where they are mounted, so you can't just throw smaller wheels on a bike built for larger ones.
* Increase the length of the top tube. A longer top tube means the head tube (where the fork sits) is farther away from the bottom bracket (where the cranks turn). Fork farther away = wheel farther away = less risk of overlap. But again, the rider is small, so this will force her to stretch out, possibly uncomfortably unless I...
* Keep the stem short. The stem of a bicycle connects the handlebars to the fork/steerer. A shorter stem means the rider is less stretched out. Unfortunately, my stem is a quill stem with a fixed 125mm length, so that's non-adjustable.
* Use shorter cranks. Pedals are mounted on crank arms. These come in different lengths. Shorter cranks = less overlap. Of course, these cranks are 170mm. Not especially long, but not short.
* Change the head tube angle. This only goes so far, especially with lugs (which are cast with certain angles in mind). Essentially "turning" the fork and wheel away from the bike by changing the head tube angle can help prevent overlap, but... it's not really viable.
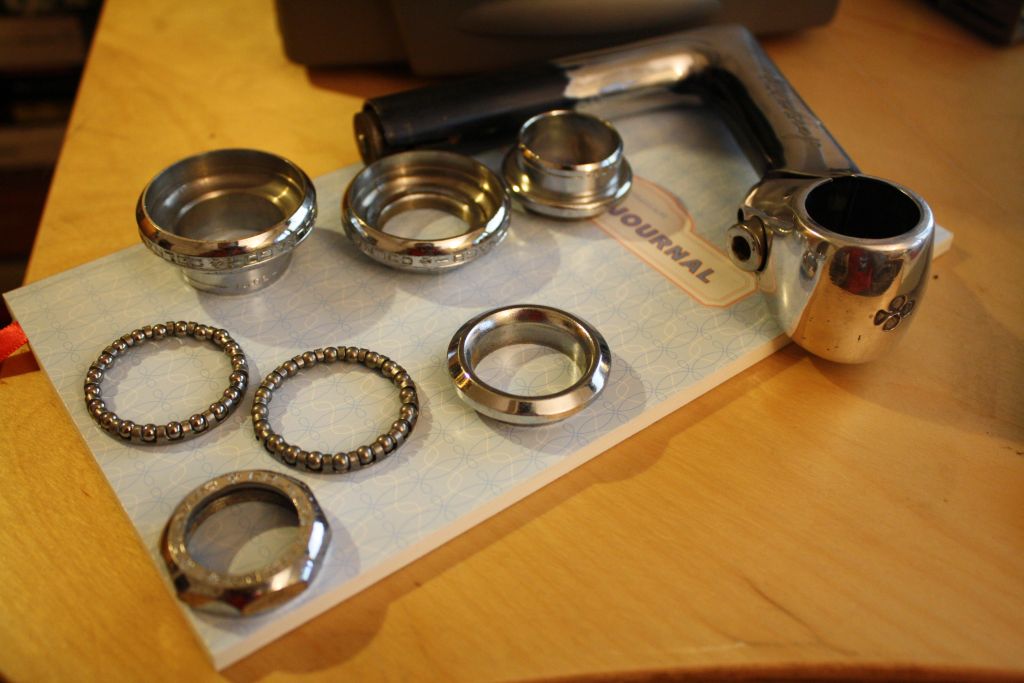
So this is my first big challenge, and most of it is self-inflicted. As I start plotting out the target frame geometry, I'll post more updates. Until then, here's a picture of the Colnago headset and 3TTT Colnago stem.
11 comments:
I imagine you've been doing this for ages, cycling for long periods of time.How have you avoided significant wrist injury?
I wish I knew anything about bikes :( I stopped riding as a kid after an accident. Worth starting again Josh? Would an adult trying to learn how to ride a bike again look ridiculous
@anon1: I haven't been doing it for that long. I rode bikes a lot when I was young, but a bad accident caused me to stop riding for over 20 years.
Having a bike fitted is extremely important if you're putting any significant mileage on. A lot of small adjustments to stem height, bar position, seat height and position, etc. can make a painful ride much more comfortable.
I also prefer drop bars to any other style of handlebars due to the variety of hand positions available. Being able to shift around is helpful.
@anon2: I also stopped riding as a kid after an accident. It's worth starting again. Don't worry about looking ridiculous for trying something or you will have consigned yourself to a life of not trying anything.
Very cool, i work at a local shop here in wi. I help my friend build frames. alot of hand filing involved good luck on the new rig
I am a regular reader of your post.I appreciate with you.Thanks for sharing the blog and always keep it. this website
This article help me. Thank your for sharing.
You are providing good information inside your blog about Bicycle Building. It will help a lot of people who want to know about this. Keep sharing informative blogs with us. Bicycle Components for Sale in Malaysia
Your website is very nice, The article is very enlightening. Keep writing
Thank you for sharing this great blog. Your post is a useful contribution.
Wonderful information of giving best information. Its more useful and more helpful.
Some genuinely nice and utilitarian info on this internet site, great features.
Post a Comment